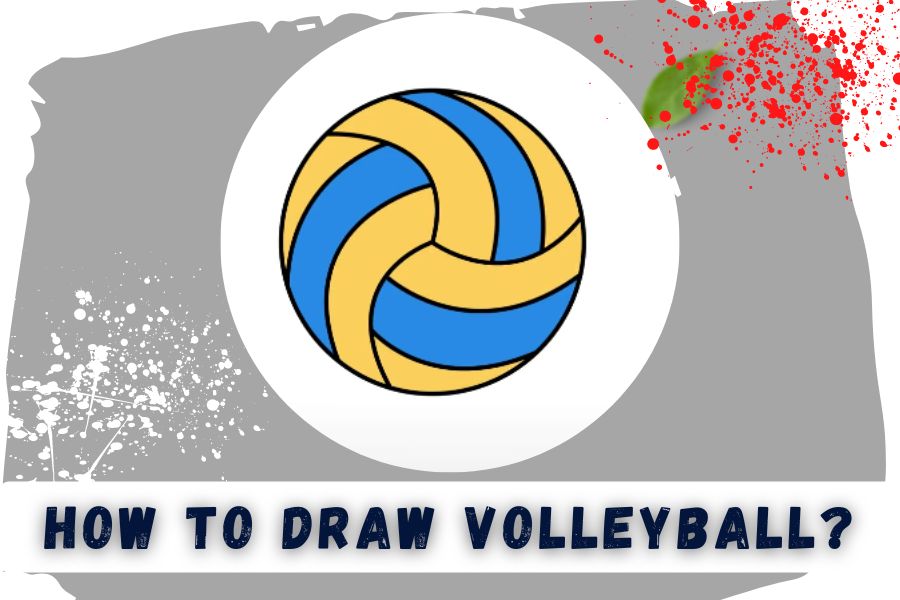
Volleyball is a sport with humble beginnings that has gained great appeal over time.
This predominantly indoor sport was created by one man in 1895, drawing inspiration from and as an alternative to badminton and basketball.
If you are a volleyball fan who wants to sketch a volleyball, you may feel it will be simple because you are familiar with the ball.
The ball’s intricate seam pattern might be hard, though. This step-by-step lesson on drawing a volleyball breaks it down and demonstrates how simple it can be.
Step By Step Guide On How To Draw A Volleyball
Step 1:
This first part of our volleyball drawing tutorial will begin. To begin, we will draw a simple circle.

Step 2:
It is hard to draw a perfect circle freehand, but a few tools can make it simpler.
The finest instrument to use is a sketching compass, which allows you to draw a perfect circle by attaching your pen or pencil to it and finishing the circle with a sharp tip.
However, if you do not have a compass, there are alternative methods you might employ. For instance, you may use a circular, flat item as a makeshift stencil.
It can be a gluestick’s cap or a jar’s lid. You have several possibilities for forming a circle, regardless of your chosen method.

Step 3:
In this section of our volleyball drawing guide, we will draw some curved lines. Beginning at the place generated by the intersection of the three lines, draw some gently curved lines over them.
These lines will bend in the center but begin and terminate at the same positions as the straight lines. In contrast to the previous phase, when you used a light pencil, you can use a pen or a dark pencil for this one, as these lines will be visible in the finished image.

Step 4:
Draw another ball seam with a curve line as shown in the reference image.

Step 5:
Your volleyball needs additional seams, so let’s add them in this phase. You will begin this procedure by creating additional curving lines.
These curving lines will be placed in the circle’s left “slices.” Each will have two curved lines running from side to side, as seen in the illustration.

Step 6:
Draw seams in the bottom section of the volleyball to make it look realistic. Don’t forget to check reference images.

Step 7:
Before you color in this portion of our instruction on how to design a volleyball, you may create the last touches. They will resemble the lines you created in the preceding stage.
The drawing will be completed by adding more curved lines in identical positions to those in step 4. At this point, your drawing is nearly complete!
Before moving on to the next stage, you might add additional details. Examples include depicting the emblem of a volleyball brand that you may utilize in real life.
You might go even farther by drawing the image’s backdrop or a hand going to grasp it. What type of scene would you depict for this image?

Step 8:
In the stage of your volleyball drawing, you can have some shading fun! Even if we have given you one approach to color in this image, this is your opportunity to demonstrate your creativity!
There are a variety of color and design schemes for volleyballs, so you should express yourself with your preferred colors in this phase.
You may also have fun coloring these elements if you create some background details or pieces in the previous phase.
Even minor features might be incorporated. For example, you might use precise art supplies like colored pens or pencils to produce weathering on the seams by applying gray or brown to the lines.
We can’t wait to see whatever colors, creative media, and final elements you choose for your volleyball drawing’s final touches!

Step 9:
Fill yellow and blue colors in the volleyball seams as shown in the reference image. You can use different colors according to your choice.

Step 10:
Complete your drawing of the volleyball by filling yellow and blue colors in the remaining seams to make it look beautiful and realistic.

Conclusion
This concludes our instruction on how to draw a volleyball. This guide should have demonstrated that despite the seeming complexity of a volleyball’s seam design, it is rather simple if you know what to do.
We aimed to make learning simple and enjoyable for you, so we hope you had a fantastic experience. However, learning to draw a volleyball is only part of the fun; now, it’s your turn to show us what you can accomplish!
List Of Equipment Used For This Drawing
- For Outline: Black Pencil and Marker – Click Here For Pencils | Click Here For Markers
- For Coloring: Colored Pencils and Colored Markers – Click Here For Colored Pencils | Click Here For Colored Markers
- Drawing Paper and Sketchbook: Mixed Media Sketchbook – Click Here For Sketchbook
- Electric Pencil Sharpener – Click Here For Sharpeners
- Drawing Combo – Click Here To Buy
View Also –
